

How to grow microgreens step by step
Microgreens are very easy to plant and care for. But, first of all, you should know that they grow directly in the ground or in growing trays. They do not need much space, so they can be grown both indoors and outdoors. They do need indirect sunlight and watering once a day.
Microgreens are usually harvested between 7 and 14 days after germination, when the first leaves appear. It is advisable to harvest them at the moment they are to be consumed.
Materials needed:
– Growing trays or directly in the garden.
– Organic seeds.
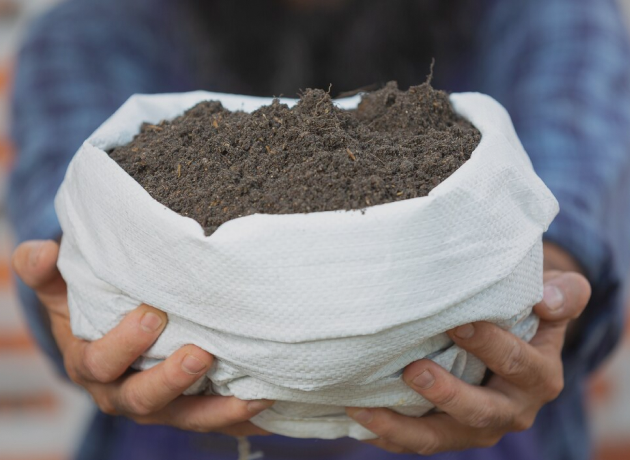
– Ecological growing substrate or soil mixed with 60% peat or fiber as + 40% earthworm hummus.
– Sprayer.
Steps to follow:
1. Wash the seeds and soak them
First, you should wash the seeds with a strainer or germination bag. Then, depending on the size of the seeds, soak them for 4-8 hours at
. Note that mucilanginous seeds, such as arugula, watercress, mustard or basil, do not soak.
2. Place the seeds directly on the moist substrate.
3. Prepare the growing surface
To grow your microgreens, you can use the typical growing tray and spread the substrate over it, forming a layer 2 to 3 cm deep. As alternatives you can also use germinators, large germination trays or, in case of a garden or micro-garden, use pots.
4. After your choice, soak the soil with water until it is moist and
fluffy.
Sowing
5. Spread the germinated (or ungerminated) seeds evenly over the soil, compacting it a little. It must be well filled with seeds and with little space between them. Then, wet them with the sprayer.
Important: if you have chosen to plant in a tray, cover it with another tray of the same size. If a germinator is your choice, use a cloth. In both cases let stand for 3-4 days. And if you have chosen a micro-garden, remember that it is self-watering and maintains optimum humidity.
After a few days, uncover the tray and place it in a place with indirect light. It is not necessary in the micro-gardens, since they have the light incorporated.
Maintenance
To favor the proliferation of microgreens, the soil must always be moist, but without waterlogging, it is recommended to water them with a sprayer. Also, if you want to increase their nutritional value, you can enrich the plants with compounds rich in trace elements. You can use kelp powder or macerated compost.
Collect
2 to 4 weeks after planting, harvest the microgreens with scissors.
To do this, take small bunches by hand, from the outside inwards and at ground level.
Then soak them in a bowl of water, drain them well and that’s it: ready to eat!
Sometimes, if you keep watering the stems, a second harvest can begin. If not, you can always reuse the soil to make compost.
How to use and store microgreens
Ideally, microgreens should be consumed once harvested, but they can also be stored in the refrigerator for a few days. The only drawback will be that they may lose flavor and nutritional properties. To maintain their freshness, place them in a glass container and cover with plastic wrap. This way, you can use them in salads, pizzas, sandwiches or even sauté them.
As you can see, growing microgreens at home is easy and simple, without having to wait months to see the results and being able to turn it into a family activity.
Reviews
There are no reviews yet.